Ultrasonic Testing Training (UT)
Unlock your potential in ultrasonic testing with NDT-CGI

Understanding UT flaw detection and material characterization capabilities
- Characterize the material: UT provides valuable insights into the material's properties and composition.
- Detect hidden flaws: UT excels at identifying cracks, voids, and other imperfections within the material, even those invisible to the naked eye.
How UT works
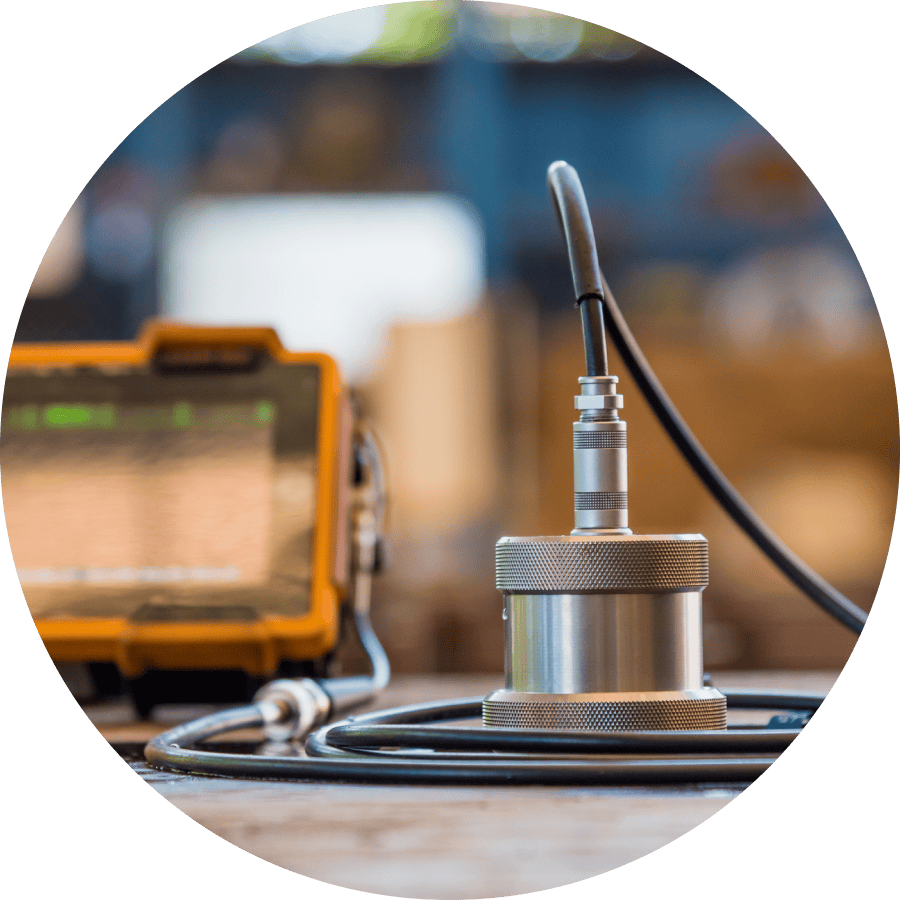
- Piezoelectric transducer: The heart of UT, the transducer converts electrical energy from the flaw detector into ultrasonic sound waves and vice versa. During an inspection, the transducer is carefully positioned on the test object's surface, often using a couplant gel, oil, or water to ensure efficient transmission of sound waves. Ultrasonic testing training equips inspectors with the knowledge to select the appropriate transducer type and couplant for various materials and applications.
- Flaw detector: This vital instrument acts as the control center for the UT inspection. It generates electrical pulses that excite the transducer, creating the ultrasonic waves. The flaw detector also amplifies and analyzes the returning echoes or received signals from the transducer, presenting them visually on an oscilloscope display. By interpreting these signal patterns, inspectors can identify potential flaws within the material.
- Couplant: Couplants like gels, oils, or water play a crucial role in UT inspections. They bridge the gap between the transducer and the test object, ensuring efficient transmission of sound waves into the material. NDT ultrasonic testing courses cover proper couplant selection and application techniques for optimal UT performance.

Advantages and limitations of ultrasonic testing
Through ultrasonic testing training, inspectors gain both the expertise and practical skills required to maximize the use of UT's advantages and effectively address its limitations.
Advantages
Unequaled flaw detection:
UT excels at identifying defects like cracks, voids, and delaminations that other NDT methods might miss. UT can even provide valuable insights into the size, orientation, and nature of these flaws.
Deep material penetration:
High-frequency sound waves enable UT to reach deep within materials, making it ideal for inspecting thick components and detecting internal flaws that might be invisible to surface-based NDT methods.
High sensitivity:
UT's exceptional sensitivity allows for the detection of minute flaws, ensuring a comprehensive inspection of the material's integrity.
Single-sided access:
A significant advantage of UT is its ability to inspect materials with access to only one surface. This makes it suitable for situations where both sides of the material are not readily accessible.
Field-ready portability:
UT equipment is known for its portability and can be easily transported for on-site inspections. Many UT systems are battery-powered and lightweight, making them ideal for various environments, including scaffolding or confined spaces.
Safe and efficient:
UT is a nonhazardous method that doesn't pose any threat to personnel or surrounding equipment during inspections.
Limitations
Inspection challenges:
Rough, irregular shapes, or very small and thin materials can pose problems for UT. Special techniques or adaptations might be required for effective UT on such components.
Surface preparation needs:
Optimal UT performance often necessitates proper surface preparation of the test object. This may involve cleaning and removing any contaminants like scale or loose paint that could hinder sound wave transmission.
Skill dependence:
While UT offers advanced capabilities, its effectiveness relies on the skill and experience of the operator. Proper interpretation of the complex ultrasonic signals displayed during inspections requires training and expertise.
Real-world applications of ultrasonic testing
Ultrasonic testing is not limited to the lab; it's a crucial tool used in various industries to ensure the safety and integrity of vital components.
Weld inspection powerhouse
UT is a cornerstone method for weld inspection. Its ability to penetrate deep within the weld material allows for the detection of cracks, voids, and other imperfections that could compromise the weld's strength.
UT's versatility extends to both ferrous (iron-based) and non-ferrous (non-iron) welds, making it a valuable tool for various fabrication processes.
Flaw detection champion
UT goes beyond weld inspection, excelling at detecting a wide range of flaws within materials. These include fine cracks, delaminations (internal separations), and other planar imperfections that might be difficult to identify using other NDT methods like radiographic testing.
Material versatility
UT is a highly adaptable NDT method, performing well on various materials. From metals like steel and aluminum to composites and even certain plastics, UT offers a reliable approach for material characterization and flaw detection.
Other Services
Explore our comprehensive suite of NDT training services
We offer a complete suite of services for program establishment, audits, and examinations.
